
Are you looking for a beginner’s guide to coffee roasting? Well, this post will do just that. We will explain in plain English everything you have to know about coffee roasting.
Table of Contents
Introduction
Are you fed up with having the same type of pre-roasted coffee?
Ever consider what it might be like to do your own home bean roasting? If so, then DIY coffee roasting might be your ideal pastime!
Coffee roasting is not only enjoyable and rewarding, but it also enables you to tailor the flavor of your coffee to your unique taste.
Additionally, since pre-roasted beans can be pricey, roasting your own beans might result in long-term financial savings.
Don’t worry if you’ve never roasted coffee before; it’s easier than you may imagine. Anyone can roast coffee at home with the right equipment and a little bit of knowledge. This blog post will guide you through the fundamentals of do-it-yourself coffee roasting and provide you with all the information you need to get going.
The Basics of Coffee Roasting
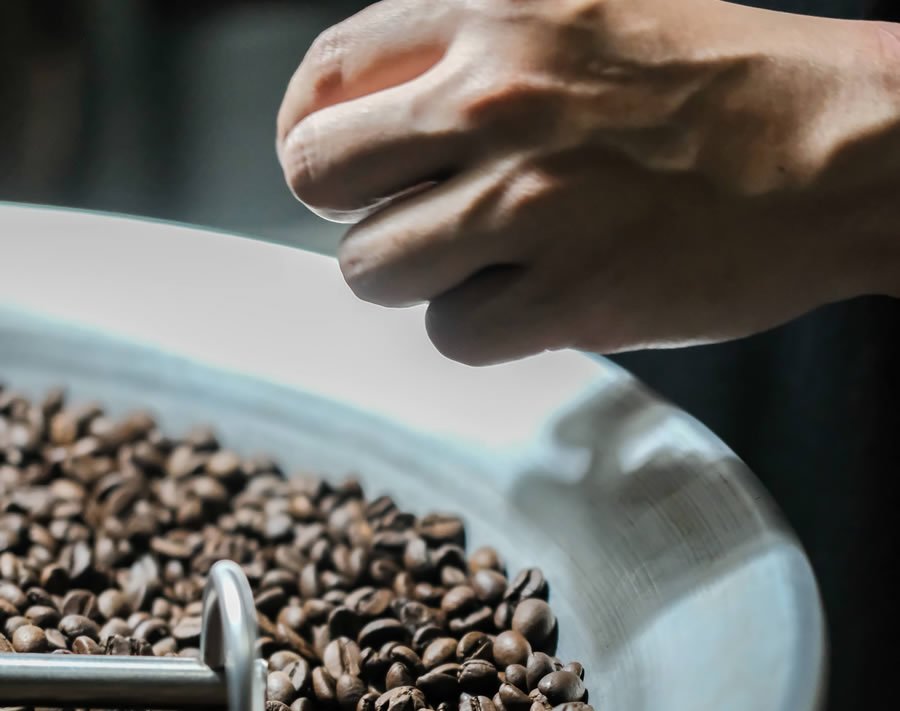
Before we go into the details of DIY coffee roasting, let’s pause for a moment and learn the fundamentals of the coffee roasting process.
Coffee beans are seeds that come from the coffee plant, a type of flowering shrub. The seeds are usually green when they are collected. They are then roasted to bring out their full flavor.
The green coffee beans are subjected to intense heat for a while during the roasting process, which turns them into a dark brown color and develops the flavors and fragrances that we associate with coffee. The final flavor of the coffee can be significantly influenced by both the length of the roasting process and the temperature at which the beans are roasted.
Coffee beans can be roasted to a variety of roast levels, from light to dark.
Dark roasts are distinguished by a darker brown color and a more strong, more intense flavor, whereas light roasts are distinguished by a lighter brown color and a more subtle flavor profile.
A coffee bean’s roast degree is mostly a matter of personal preference, and various brewing techniques can be used with various roast levels.
Equipment Needed for DIY Coffee Roasting
After mentioning the basic fundamentals of the coffee roasting procedure, let’s discuss the tools you’ll need to get started.
A coffee roaster is the most important tool you’ll need. Coffee roasters come in a variety of designs, from straightforward hot-air popcorn poppers to more specialized roasters.
- Hot-air popcorn poppers: due to their accessibility and low cost, hot-air popcorn poppers are a popular option for home coffee roasting. However, their capabilities can be rather constrained, and they might not be appropriate for roasting greater quantities of beans.
- Dedicated coffee roasters: on the other hand, specialized coffee roasters cost more but provide more control over the roasting process and can handle larger quantities of beans. A specialized coffee roaster can be the best option if you’re serious about coffee roasting and ready to invest the financial investment in the equipment.
If you’re looking for how to make a DIY coffee roaster, check out this guide on how to make your homemade coffee roaster
Besides a coffee roaster, you will need a thermometer and a timer.
- A timer will help you keep track of how long the roasting procedure took.
- A thermometer is crucial for checking the beans’ temperature as they roast.
Step-by-Step Guide to DIY Coffee Roasting
Now that you have all the tools needed for the process, It’s time to start roasting! Here is a step-by-step instruction guide to assist you:
- Choose your beans: Choosing the beans you wish to roast is the first step in a do-it-yourself coffee roasting project. Coffee beans come in many types, each with a distinctive flavor profile. You have the option of selecting a single-origin bean that is grown in a single location or a mix of beans from many locations. Try out various bean types to see the ones you like best.
- Preheat your roaster: It’s crucial to pre-heat your roaster in accordance with the manufacturer’s directions before you begin roasting. This will guarantee that during the roasting process, the beans are exposed to an even, constant degree of heat.
- Measure and prepare your beans: Determine the quantity of beans you intend to roast, taking into account the roaster’s capacity. Additionally, you should eliminate any waste or damaged beans from your batch.
- Start roasting: After your roaster has warmed up, add your beans and begin roasting. The roast level you wish to attain determines how long you should roast the beans. A light roast will typically roast in 8 to 12 minutes, a medium roast in 12 to 15 minutes, and a dark roast in 15-20 minutes.
- Monitor the roast: The beans will go through various stages while they roast. Depending on the roast level you wish to attain, the time the beans spend in each stage will vary:
- The initial phase is referred to as “drying,” and it involves evaporating the beans’ moisture.
- The beans turn a yellowish color and begin to release a grassy odor during the second stage. This is referred to as the “yellowing” stage.
- The third stage is referred to as the “first crack,” and it occurs when the beans begin to generate a crackling sound and leak oils.
- The fourth stage is referred to as the “second crack.” At this stage, you can hear the beans produce their loudest cracking sound.
- Cool the beans: Once the beans have reached the correct level of roasting, it’s crucial to cool them down as soon as you can. This can be accomplished by putting the beans in a metal colander or by using a fan to blow cool air over them.
- Store the beans: After the beans have cooled, place them in an airtight container and keep them somewhere dry and cool to store. Prior to brewing your roasted beans, it is ideal to give them at least a day to “degas” and reach their full taste potential.
Troubleshooting Common Issues
Although DIY coffee roasting can be a rewarding and enjoyable activity, problems occasionally arise. Here are some typical problems you could face and how to fix them:
- Uneven roasting: It may be because the heat is dispersed unevenly, which results in some of your beans roasting more quickly than others. To make sure the beans are exposed to an even distribution of heat, try stirring the beans more regularly or moving them around in the roaster.
- Over-roasting: Beans that are roasted for an excessively long time risk burning and becoming more bitter. Keep a tight eye on the beans while they roast and halt the process as soon as they achieve the appropriate roast level to avoid over-roasting.
- Under-roasting: Your beans will have a light and could taste sour or grassy if they are under-roasted. Make sure to roast your beans for the necessary amount of time for the roast degree you want to attain in order to avoid under-roasting.
Exploring Different Roast Profiles
One of the best things about doing your own coffee roasting is that you can experiment with various roasting intensities and develop unique flavor profiles. You can test the following major roast levels:
Light roast:
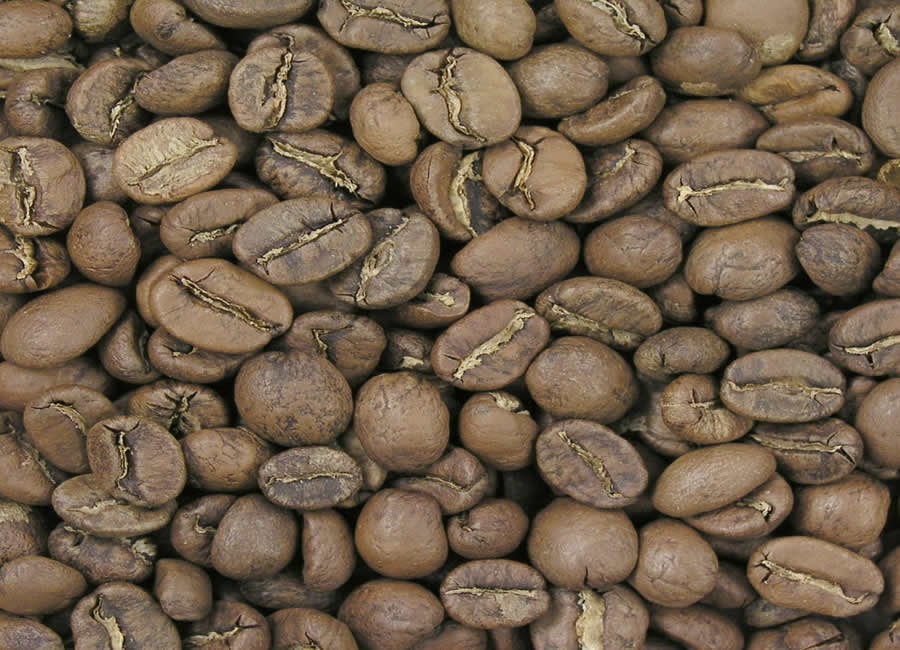
Beans that have been roasted for a shorter amount of time have a more delicate flavor profile and a lighter brown color. They typically taste brighter, are more acidic, and contain more caffeine. Light roast beans work best with brewing techniques like pour-over or Aeropress that bring forth their subtle nuances.
Medium roast:
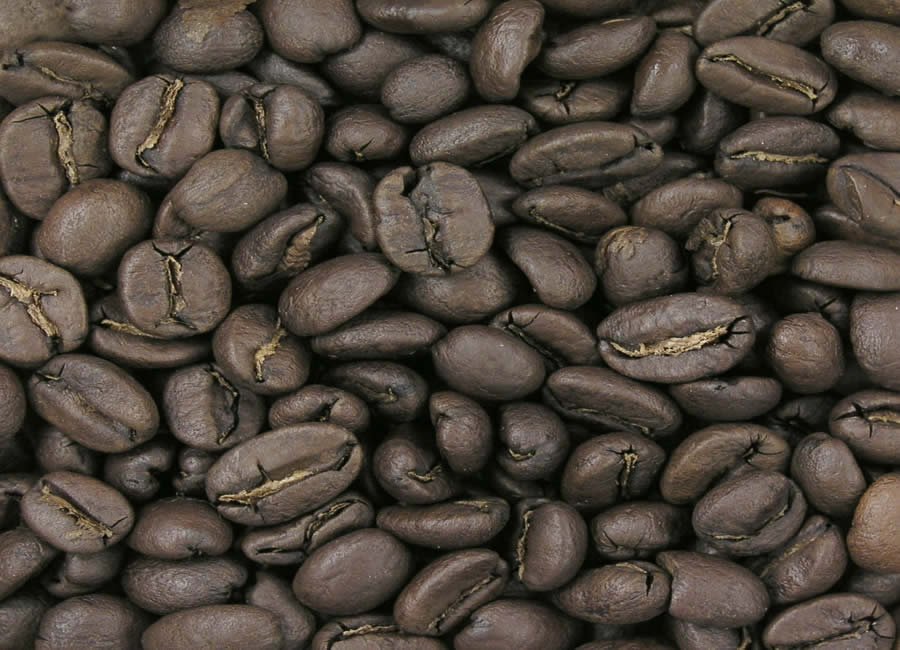
Medium roast beans have a medium brown color and a balanced flavor profile; they are roasted for a little bit longer than light roast beans. They typically taste well-balanced and contain a moderate amount of caffeine. Beans with a medium roast are adaptable and work with many different brewing techniques.
Dark roast:
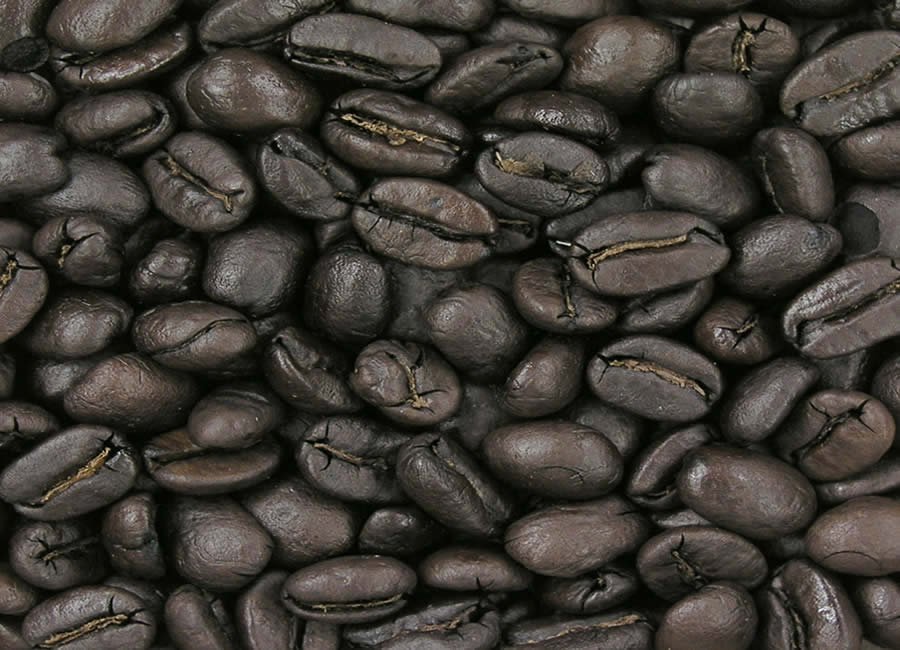
Beans that have been roasted for the longest are known for their dark brown color and robust, intense flavor. They typically taste strong and smokey and have less caffeine. Dark roast coffee beans work well with brewing techniques like French press or espresso that can manage their robust characteristics.
Advanced Techniques for DIY Coffee Roasting
After you have mastered the fundamentals of do-it-yourself coffee roasting, you might wish to experiment with some more sophisticated methods. Here are some suggestions to get you going:
- Blending beans: You can create unique flavor profiles that are suited to your precise preferences by combining various bean varieties. Consider experimenting with other bean combinations to see what flavors you can produce.
- Roasting to specific roast profiles: You can experiment with various roasting periods and temperatures to produce the ideal flavor qualities if you have a specific roast degree in mind. For instance, you may try roasting the beans for a shorter amount of time at a higher temperature if you want to produce a light roast with a brighter, more acidic flavor.
- Roasting with different equipment: There are many various kinds of coffee roasters, as was previously noted. Every kind of roaster has a distinct set of qualities and is capable of producing various outcomes. Try roasting using various roaster types to compare them.
Conclusion
DIY coffee roasting is an enjoyable and rewarding skill that enables you to precisely tailor the flavor of your coffee. Anyone can roast their own beans at home with the correct tools and a little bit of knowledge. There’s always more to discover and learn about when it comes to coffee roasting, whether you’re a novice or an expert. Why then wait? Discover the fascinating world of do-it-yourself coffee roasting by starting to roast your own beans right now!